PSA Online Appointment QR Code
Planning to visit a Philippine Statistics Authority (PSA) office for your document request? The PSA Online Appointment QR Code is your key to a smooth and hassle-free experience. This guide will explain everything you need to know about the QR code, how to get it, and how to use it for your PSA appointment.
What is the PSA Online Appointment QR Code

The PSA Online Appointment QR Code is a unique barcode generated after you successfully book an appointment through the PSA online system. It contains all the essential details of your appointment, such as:
This QR code is scanned at the PSA office to verify your appointment and speed up the process.
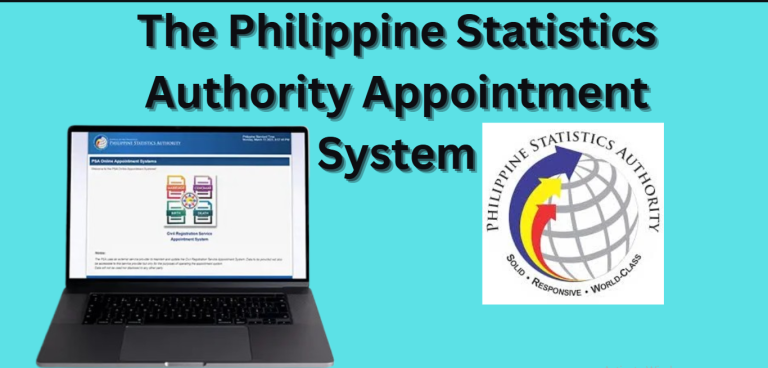
Book your PSA appointment online with ease, access all the necessary documents and details you need, and take advantage of convenient scheduling.
Why is the PSA QR Code Important
Here’s why the QR code is a must-have for your PSA appointment:
How to Get Your PSA Online Appointment QR Code
Step 1: Visit the PSA Website
Go to the official PSA website: https://www.psa.gov.ph. Look for the “Online Appointment System” or “Serbilis Outlet Services” section.
Step 2: Create or Log In to Your Account
Step 3: Choose Your Preferred PSA Branch
Select the PSA branch nearest to you. If you’re in a major city like Manila, Cebu, or Davao, choose the most convenient location.
Step 4: Select the Document You Need
Choose the type of PSA document you need, such as:
Step 5: Fill in the Required Details
Provide the necessary information, such as:
Step 6: Pick a Date and Time
The system will show available slots. Choose a date and time that works best for you. Pro tip: Arrive 10-15 minutes early to avoid delays.
Step 7: Pay the Processing Fee
The fee for PSA documents is PHP 365 per copy. You can pay online using:
Once payment is confirmed, you’ll receive a confirmation email with your appointment details and QR code.
Learn about the importance of civil registration in the Philippines as we celebrate the 32nd Civil Registration Month. Discover how to obtain PSA certificates, such as birth, marriage, and death certificates. Visit the Philippine Statistics Authority (PSA) website or nearest office to know more
Step 8: Save or Print Your QR Code
How to Use the PSA QR Code During Your Appointment
Tips for a Smooth PSA QR Code Experience
Quick Summary: PSA Online Appointment QR Code Process
| Step | What to Do |
| Step 1 | Visit PSA website |
| Step 2 | Create an account or log in. |
| Step 3 | Select your preferred PSA branch. |
| Step 4 | Choose the document you need. |
| Step 5 | Fill in your details carefully. |
| Step 6 | Pick a date and time. |
| Step 7 | Pay the PHP 365 fee online. |
| Step 8 | Save or print your QR code from the confirmation email. |
| Step 9 | Present your QR code at the PSA office on your scheduled date. |
Get your PSA certificates easily through Serbilis/CRS Outlets nationwide. Find the nearest outlet in your area and discover the various services offered, from birth and marriage certificates to death certificates and more. Visit the Philippine Statistics Authority (PSA) website for a complete list of outlets and their locations
FAQs
Conclusion
The PSA Online Appointment QR Code is your ticket to a fast and efficient document request process. Whether you’re in Manila, Cebu, Davao, or any other part of the Philippines, this guide ensures you understand how to get and use your QR code correctly. Book your appointment today and enjoy a hassle-free experience!

